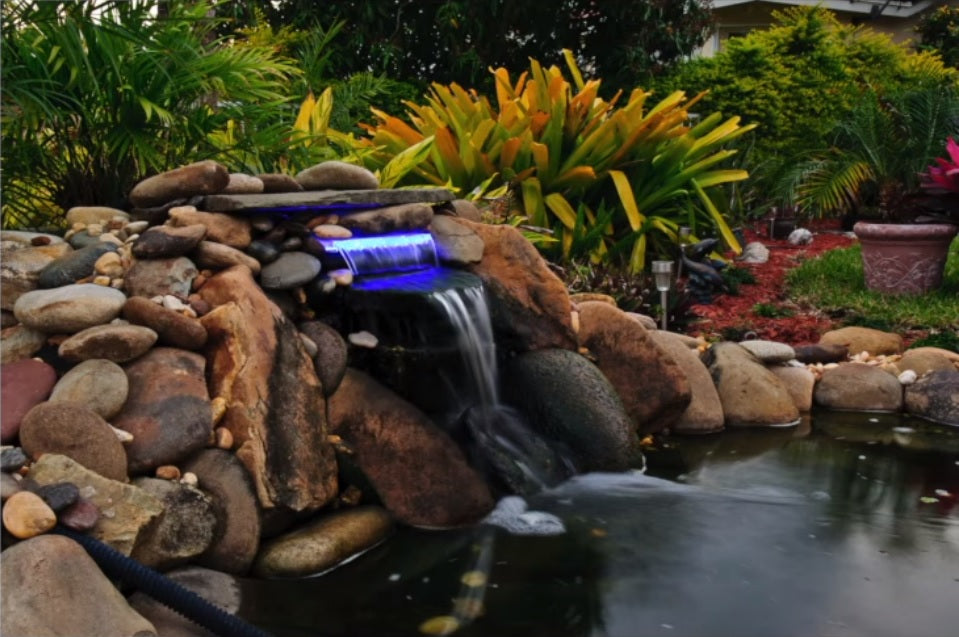
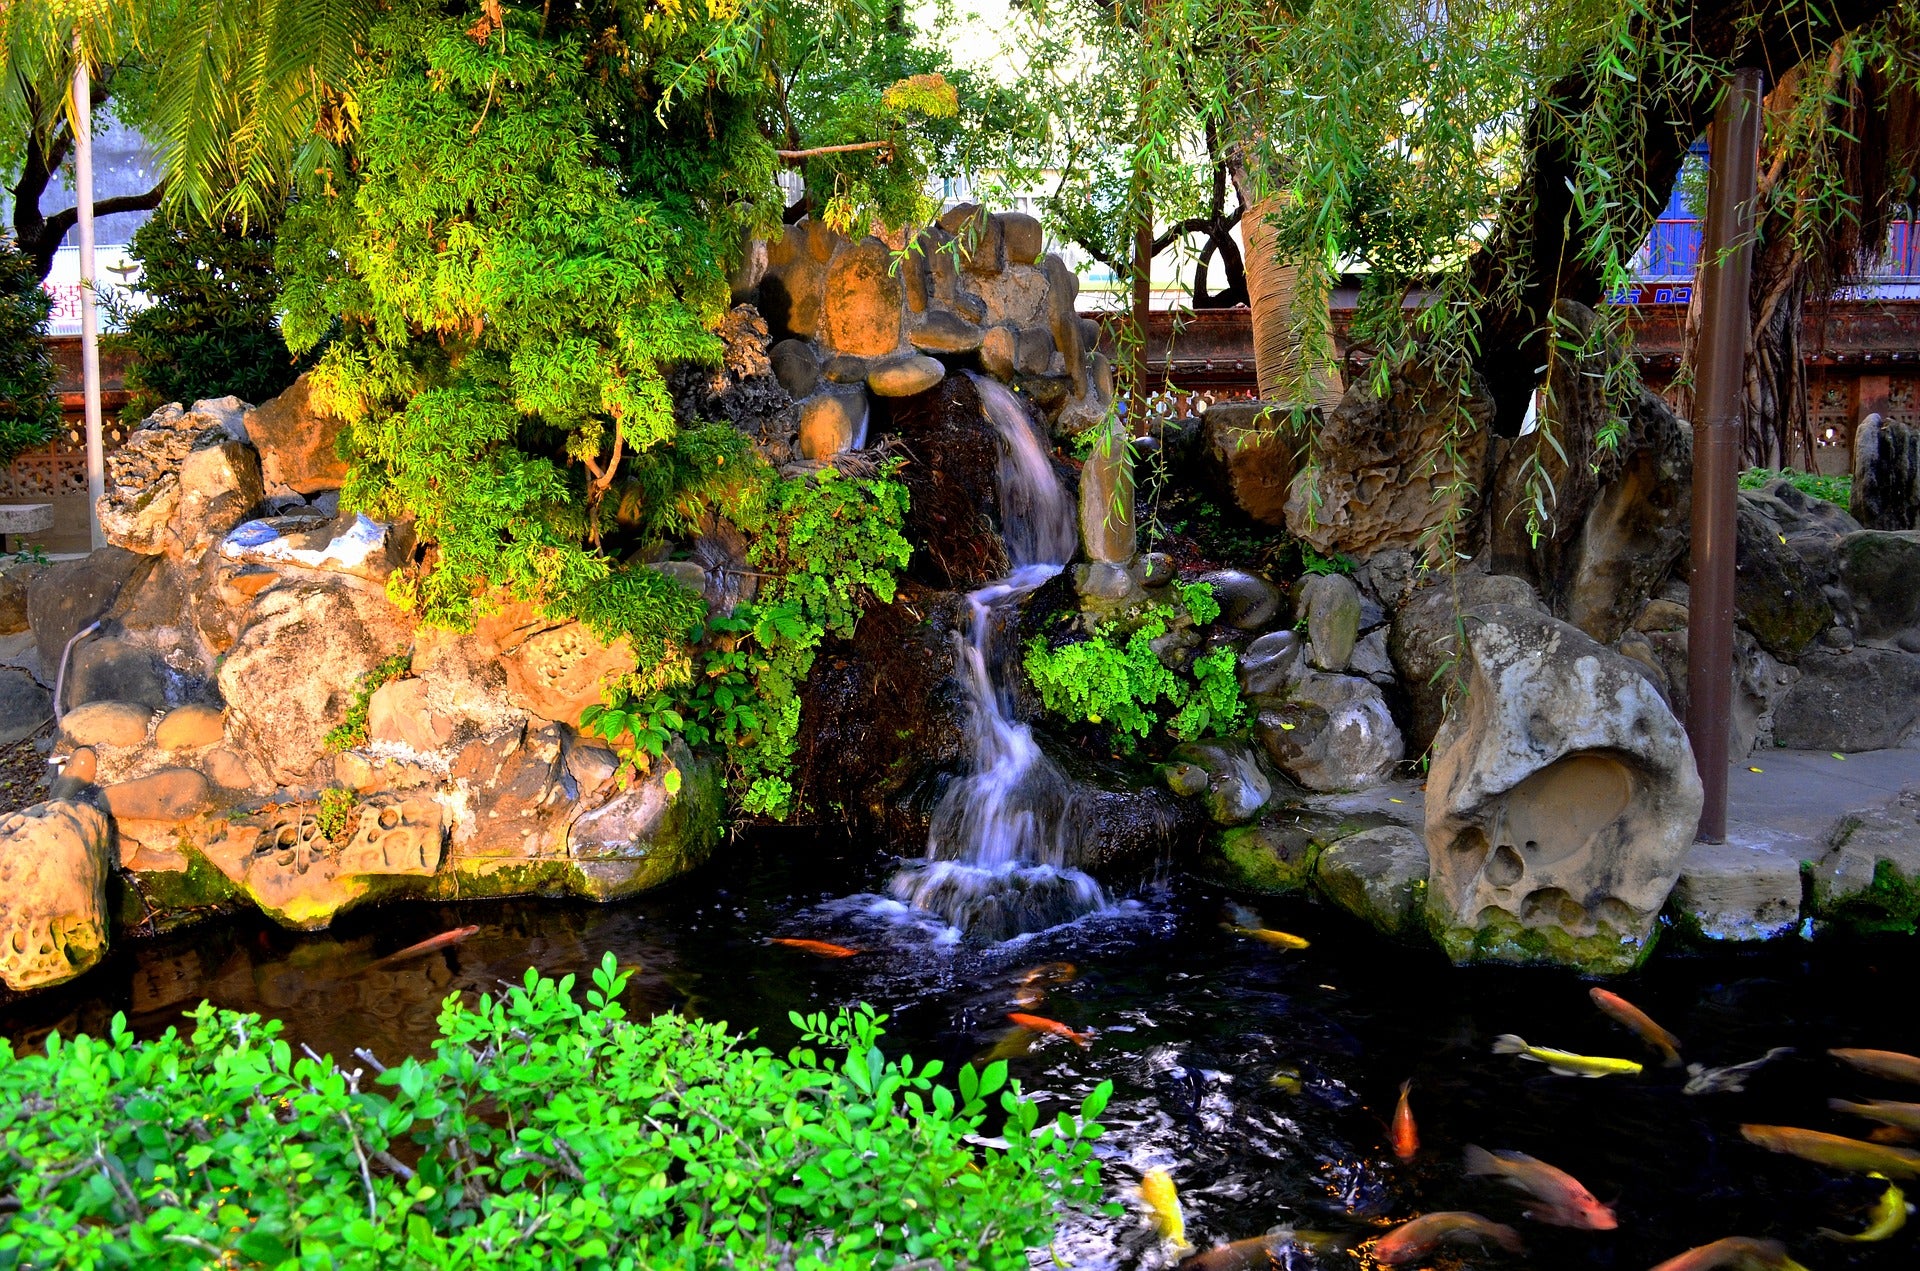
Add Aeration to Your Pond with a Waterfall
Aeration is a key component to any water feature. Aeration is the introduction of dissolved oxygen into the water. It is simple to identify if aeration is being introduced to your pond. Do you notice bubbles on the surface of your water from a fountain nozzle or waterfall? If not, it is time to consider how you would like to add aeration to your pond.
Why is aeration important?
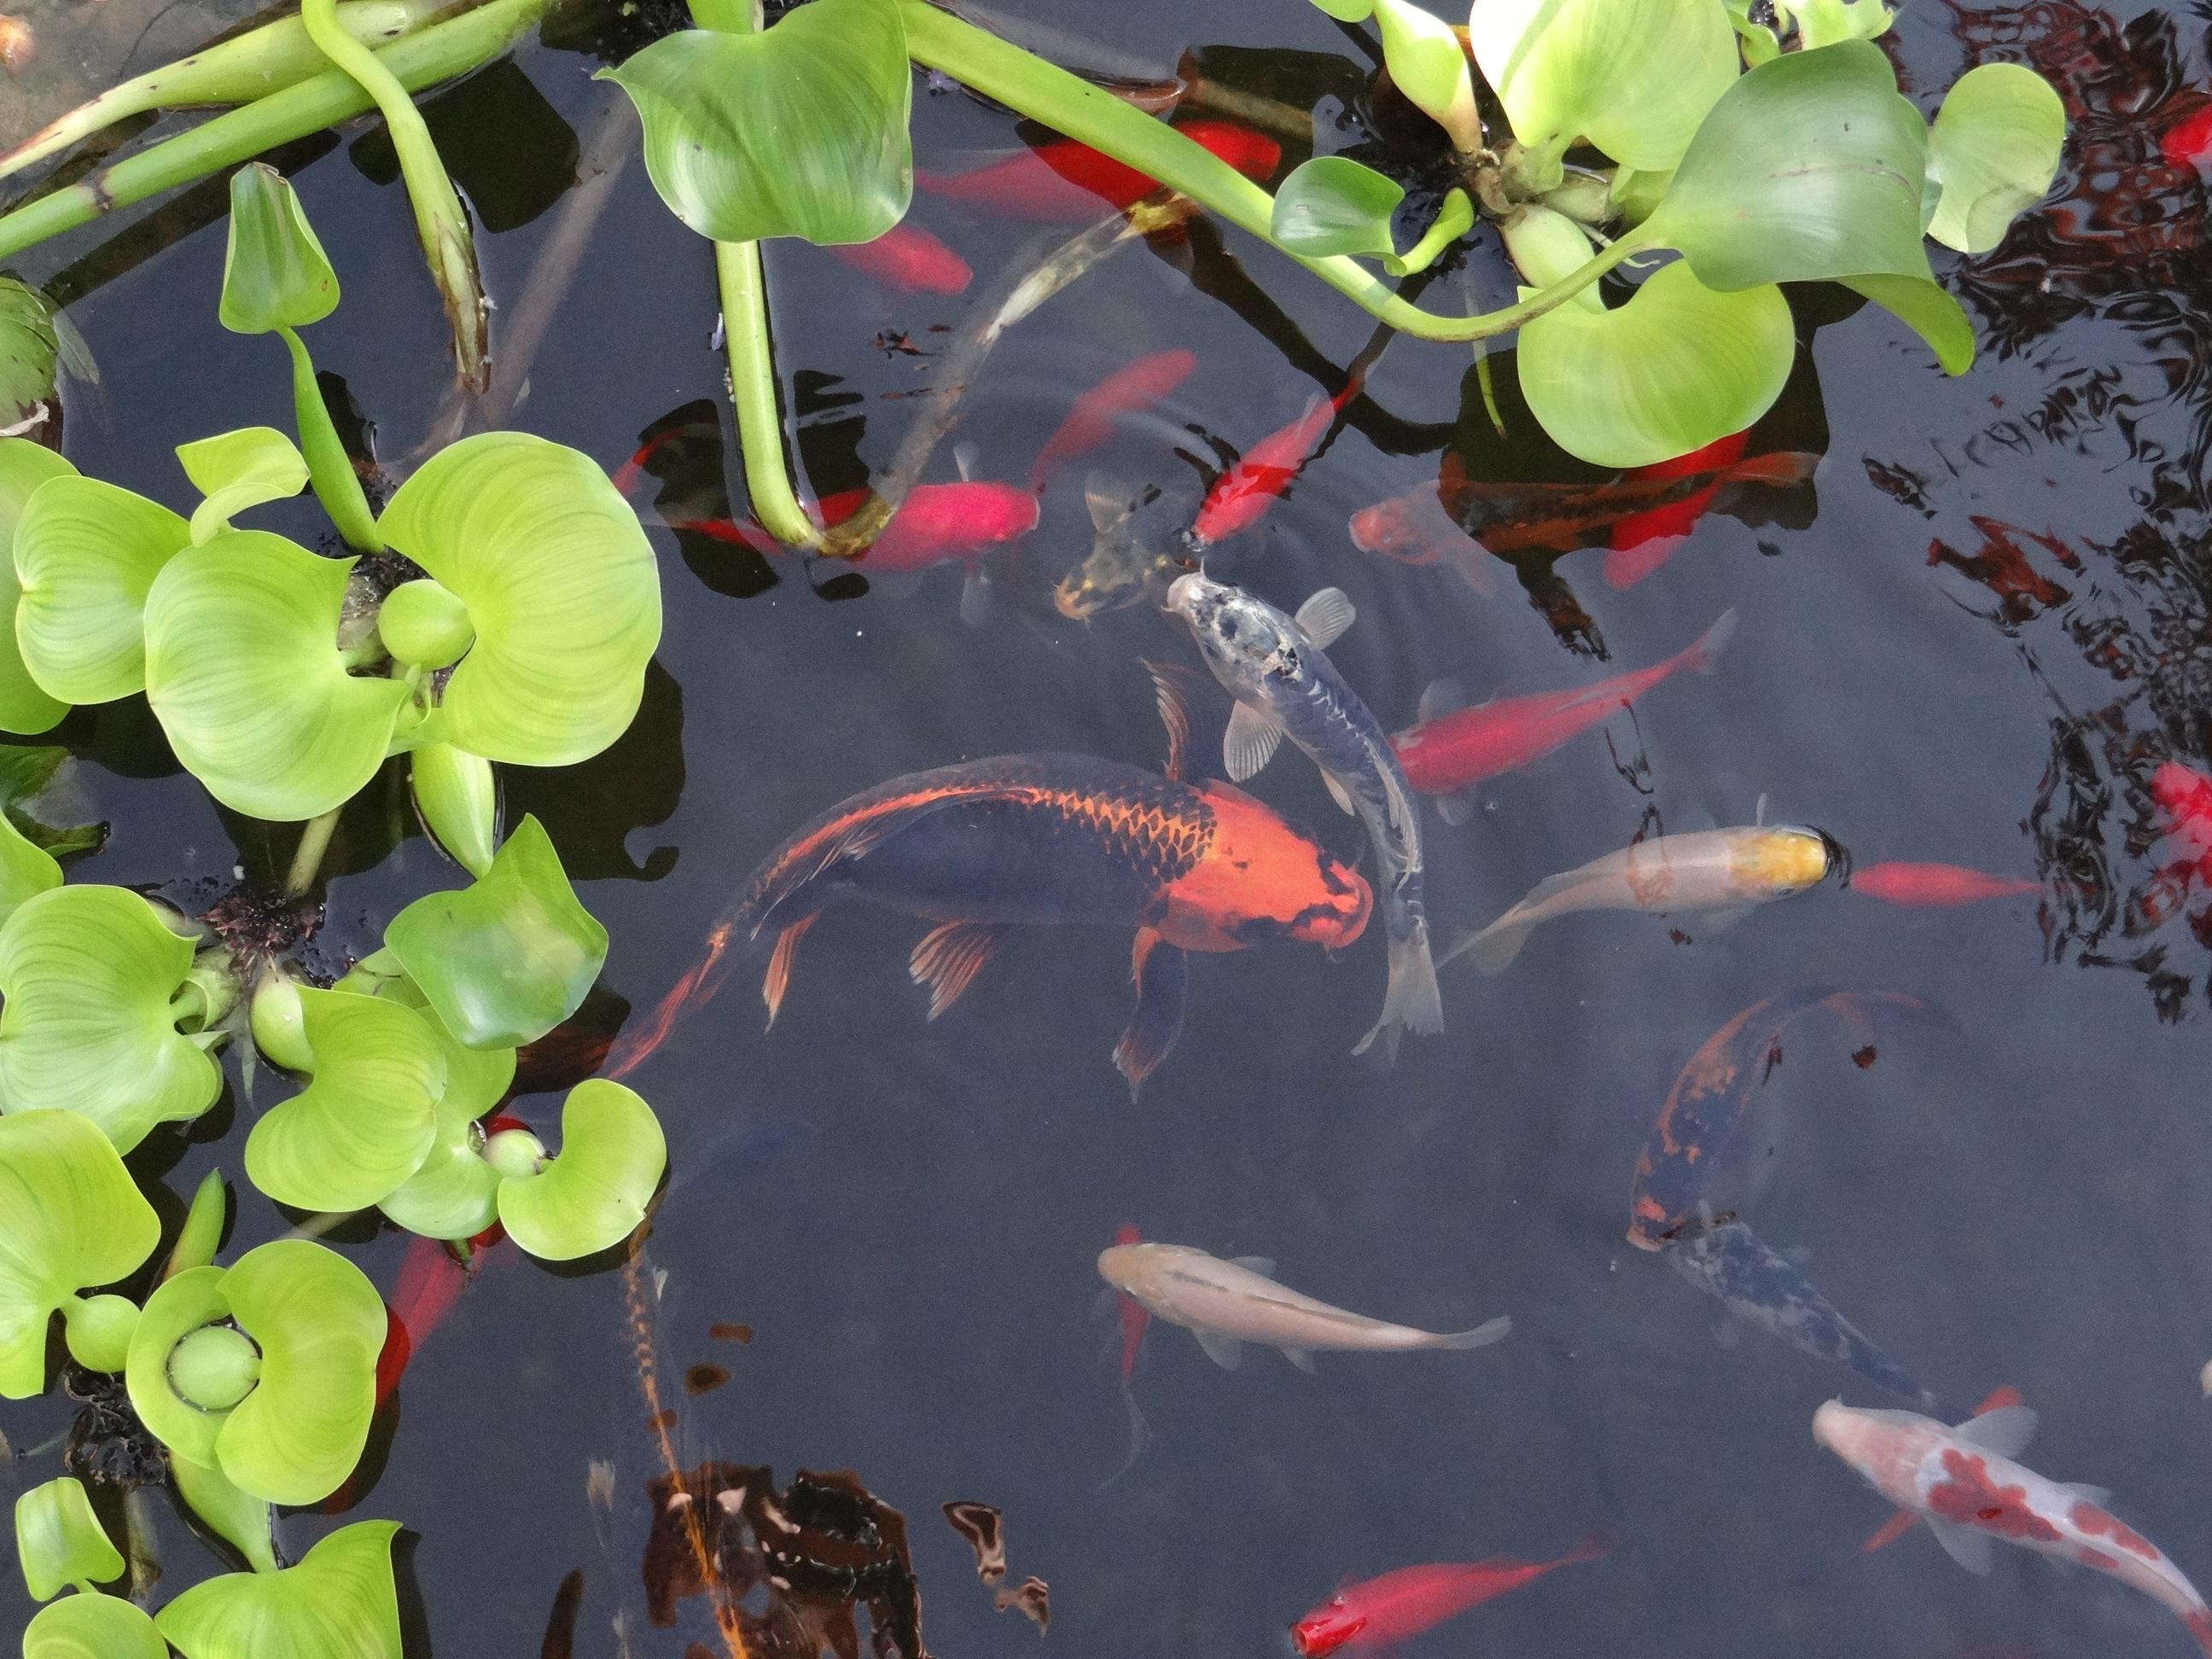
Water clarity and balanced is dependent on several factors within a pond. It is simple to identify that green water and sludge buildup are undesirable in your pond, but there is a lot that goes on before visible signs of problems that can help improve water clarity and aeration can help. Nitrates, nitrites, ammonia levels, pH, and oxygen can all be found as balanced levels in ponds with proper aeration. Aeration is also key in fish care as fish rely on oxygen levels in the water to breathe, and if there are low levels, they can experience difficulty breathing just like you would with air pollution. Adding aeration can be more simple than you may think and can help fix water clarity and fish problems before they even start.
Adding Aeration
Adding aeration to a pond can be simple and add additional beauty to your pond. Here is a video that talks a little bit more about adding aeration through various form, but we will focus on adding a waterfall here.
Step 1: Pick your location
Step 2: Determine the size
Step 3: Determine the pump needed
Depending on your current pump’s turnover rate you may be able to use your existing pump to power your waterfall. You will want the turnover rate to equal 100-GPH per every inch of spillway for an effect of an even sheet of water from the spillway. If you want a trickle effect, 50-GPH for every inch, and 200-GPH for a niagara effect.
- Example: For a 12 inch waterfall you will need the following turnover rate based on water flow:
- Trickle – 600-GPH
- Sheet – 1,200-GPH
- Niagara – 2,400-GPH
- You will want a higher turnover rate as you increase the height of the waterfall above the pond’s surface to account for the gravitational pull and the loss of friction as the water runs through the tubing.
Step 4: Connect your tubing
Step 5: Landscaping
Not only will you find this addition beautiful, you can enjoy the soothing sounds this will add to your outdoor space. Plus, you can rest assured knowing that you just added the important element of aeration to your water feature.